

Key Takeaways
Choosing panel beater BMW parts is less about finding the cheapest component and more about confirming the right fit, finish, safety features, and repair method for your vehicle.
- Identify whether each damaged component should be repaired or replaced.
- Confirm the BMW model, generation, part number, and equipment level.
- Compare genuine, aftermarket, and recycled parts on more than price.
- Allow for labor, paint, calibration, and hidden collision damage.
- Inspect alignment, electronics, corrosion protection, and finish before collection.
Understanding BMW parts after collision damage
A collision estimate is only a starting point. Once a damaged BMW is dismantled, the panel beater may find bent mounting points, broken brackets, or components hidden behind an apparently minor impact. The right repair plan separates cosmetic work from damage that could affect how the vehicle protects its occupants. That distinction guides which parts are ordered and how they are fitted.
Which components typically need replacement
Common replacement items include bumpers, bonnets, guards, doors, grilles, headlights, tail lights, mirrors, wheels, and exterior mouldings. Behind those visible parts may be crash absorbers, reinforcement bars, brackets, clips, undertrays, or cooling components. A damaged lamp may also require its mounting hardware or related wiring to be checked, rather than treating the visible lens as the entire repair.
The parts list should follow the inspection, not the first photograph of the accident. Small fasteners and supports matter because a replacement panel can look correct while remaining insecure or unevenly mounted. The complete parts picture usually becomes clearer after panels are removed and the surrounding area is inspected.
When damaged parts can be repaired
Repair may be sensible when a metal panel has manageable dents, the attachment points remain sound, and the material can be returned to a stable shape without excessive stretching. Plastic covers can sometimes be repaired where cracks or deformation are limited and the repair will not compromise their mounting or finish. A technician should also consider whether repair labor will cost more than a suitable replacement.
The decision is different for parts that help manage crash energy, locate safety equipment, or support sensors. Straightening a structural area beyond its approved repair method can create a risk that is not visible after paint. Ask the workshop to explain why a component is being repaired and what checks will confirm the result.
How BMW model and year affect compatibility
BMW vehicles that share a model name can still use different body panels, lamps, grilles, wiring, and brackets across generations or production periods. A facelift can change the shape of the front end, while an equipment package can alter trim, sensors, or lighting. Even left and right components that appear similar may not be interchangeable.
The vehicle identification number, build details, and original equipment should therefore be recorded before ordering. This is especially useful when a repair involves a partial assembly, because the visible component may be sold together with mounting hardware or electronics in one version but separately in another. Compatibility should be confirmed from the vehicle rather than guessed from a photograph.
The difference between structural and cosmetic damage
Cosmetic damage affects appearance, such as a dented outer panel, scraped paint, or cracked trim. Structural damage involves areas that influence the vehicle’s shape, mounting points, suspension location, or crash performance. The two can overlap: a bent bumper cover may hide damage to the reinforcement behind it, and a creased guard may have shifted an adjoining support.
A careful repair process measures the body and checks gaps after the damaged parts are removed. It also considers whether doors, bonnet latches, lights, and safety systems sit in their correct relationship to the surrounding structure. A smooth paint finish cannot make an incorrectly aligned structure safe, so appearance should be assessed only after the underlying work is understood.
Choosing between genuine, aftermarket, and used BMW parts
There is no single right source for every replacement component. The choice depends on the part’s role, the vehicle’s age, availability, insurer requirements, and the owner’s priorities. A body shop should explain the trade-offs in plain language rather than presenting a low headline price without describing possible differences in fit or warranty.
Benefits of genuine BMW replacement parts
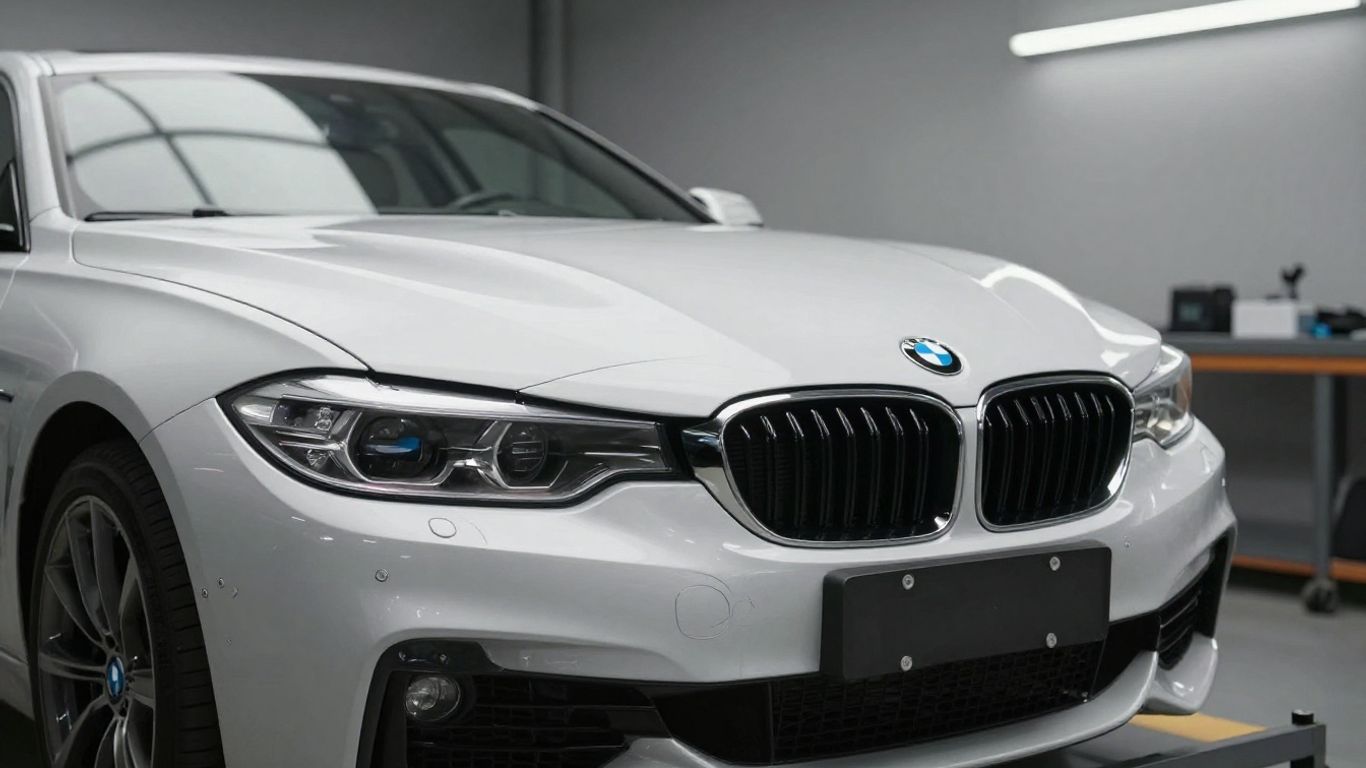
Genuine replacement parts are designed for the relevant vehicle specification and may provide a straightforward path when exact fit, finish, mounting, or electronic compatibility is a priority. They can be particularly attractive for newer vehicles, unusual equipment combinations, and components that interact with safety or driver-assistance systems. The workshop should still verify the part number before ordering.
Their higher purchase price does not automatically make them the best choice for every older vehicle or every cosmetic item. A useful comparison considers the part’s function, the condition of the surrounding components, and the repair warranty. The goal is a sound repair decision, not simply a label attached to the invoice.
When quality aftermarket components make sense
Aftermarket parts can make sense for selected body or trim components when a reputable supplier provides consistent manufacturing quality and the part is confirmed for the exact vehicle. They may help control the estimate, especially where the component does not contain electronics or influence crash protection. Fit should be checked before painting, because correcting an imperfect shape after paint adds time and cost.
The phrase “aftermarket” covers a wide range of quality. Ask who made the part, what warranty applies, whether it includes the required brackets or clips, and how the workshop will handle a poor fit. For lamps, grilles, or parts with sensor openings, the apparent saving can disappear if installation or calibration becomes more complicated.
Evaluating recycled and used parts
Recycled parts can be practical for an older BMW or for a component that is difficult to source new. The useful questions are whether the part comes from a compatible vehicle, whether it has been inspected, and whether its condition is suitable for repainting or direct installation. Used lamps, mirrors, wheels, and trim should be checked for hidden cracks, water entry, corrosion, or previous repairs.
A recycled panel may also need preparation before it matches the repaired vehicle. Confirm whether the quoted price includes cleaning, stripping, minor repairs, paint preparation, and any transferable hardware. A lower purchase price is meaningful only when the complete installed cost remains lower.
Comparing fit, finish, warranty, and cost
Price is easiest to compare when every estimate describes the same component and the same work around it. The following framework helps separate a cheaper part from a cheaper-looking estimate that leaves preparation or adjustment out.
| Comparison point | Genuine part | Aftermarket part | Recycled or used part |
|---|---|---|---|
| Fit and mounting | Usually specified for the vehicle version | Depends on supplier and exact application | Depends on donor vehicle and condition |
| Finish | Typically supplied to the relevant standard | May require more preparation | Often requires inspection and preparation |
| Availability | Can vary by model and age | May be readily available for common items | Depends on salvage and stock |
| Warranty | Confirm with the supplier or repairer | Confirm length and exclusions | Confirm coverage and return conditions |
| Installed cost | Higher part price may reduce fit issues | Lower price may vary with preparation | Part saving may be offset by reconditioning |
The table is a comparison tool, not a verdict. A repairer should explain which option suits the damaged component and what happens if the part does not fit or fails inspection. That conversation is more useful than comparing part prices in isolation.
Matching panel beater BMW parts to your vehicle
Correct matching prevents many delays before they reach the workshop floor. Model name alone is rarely enough because generation, body style, engine, market specification, trim level, and optional equipment can all matter. The order should be based on verified vehicle information and a clear description of the damaged assembly.
Confirming the exact BMW model and generation
Start with the vehicle identification number and confirm the model, body style, production period, and generation. A 3 Series sedan, touring, coupe, or convertible may share some mechanical components while using different exterior panels and trim. A mid-cycle update can change bumpers, grilles, lights, and mounting points even when the badge remains familiar.
Photographs are helpful for an initial conversation, but they should not replace vehicle identification. The panel beater can compare the damaged area with the vehicle record and inspect the original part before finalizing the order. This reduces the chance of receiving a visually similar component that cannot be installed correctly.
Checking part numbers and equipment specifications
Part numbers should be checked against the vehicle record and the equipment actually fitted. A bumper may have different openings for parking sensors, cameras, headlamp washers, or trim inserts. A mirror may differ according to folding, heating, lighting, or camera equipment, while a lamp can vary by lighting type and control system.
When a component is supplied as an assembly, clarify what is included. The quoted part may be a bare housing, a complete unit, or a component without brackets and sensors. Recording these details early makes the estimate easier to understand and reduces surprises when the vehicle is being reassembled.
Verifying paint codes and exterior trim details
The paint code helps the paint technician select the correct color formula, but a good match also depends on the vehicle’s age, exposure, finish, and adjoining panels. Metallic and pearl finishes can appear different when sprayed on a new panel compared with the original paint. The repair plan may therefore include blending into neighboring panels where appropriate.
Trim details deserve the same care. Shadow-line finishes, chrome elements, textured lower sections, badges, grille surrounds, and mouldings can vary by specification. Before ordering, confirm whether the replacement is supplied in the needed finish or must be painted, transferred, or refinished.
Avoiding compatibility problems with sensors and electronics
Modern exterior parts can carry more than their visible shape. Bumpers, mirrors, lamps, and grilles may contain or accommodate sensors, cameras, wiring, control units, and dedicated brackets. A component can fit the body opening yet still be unsuitable if it changes sensor position or lacks the correct mounting provisions.
The workshop should scan for faults, inspect connectors, and confirm that replacement electronics communicate correctly with the vehicle. Driver-assistance systems may also require calibration after body repairs or changes in sensor mounting. These checks belong in the repair plan rather than being treated as optional finishing work.
How a panel beater sources and installs replacement parts
Good sourcing is part of the repair, not an administrative step after the technical work. The panel beater first establishes what is damaged, then identifies the correct components, checks their condition, and plans how they will be prepared. Installation follows measurement and trial fitting, with electronic checks added wherever the repaired area affects vehicle systems.
Inspecting the vehicle before ordering components
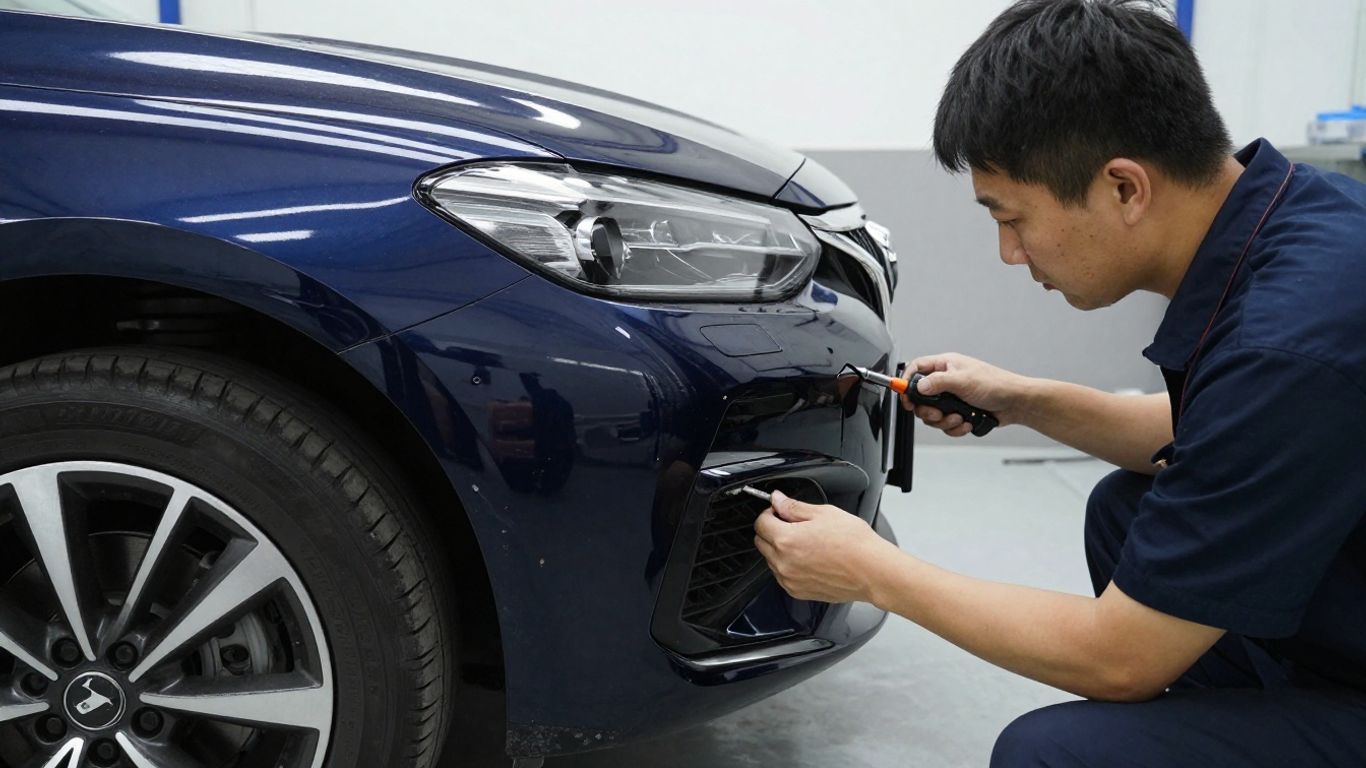
A proper inspection includes the visible impact area, adjoining panels, inner supports, wiring, lights, cooling components, wheels, and relevant safety equipment. The technician may remove damaged covers or liners to see whether mounting points have moved. This avoids ordering a cosmetic part before the less visible damage has been understood.
The inspection should also record gaps, shut lines, diagnostic faults, and the condition of reusable hardware. Clear photographs and measurements help the repairer document the estimate and support conversations with an insurer. If dismantling reveals new damage, the parts list and timeline should be updated before work proceeds.
Measuring and aligning body panels
Panels are trial-fitted before final finishing so the technician can check gaps, flushness, latch operation, and the relationship between adjoining parts. Structural measurement may be needed when impact has affected rails, supports, suspension mounting areas, or other reference points. Alignment is not just a visual exercise; the body must return to a sound geometry.
Once the replacement component is positioned, the technician can identify whether a bracket, clip, hinge, or neighboring panel also needs attention. This stage is where a precise workshop can prevent repeated removal after paint. Small adjustments made early are usually easier than correcting a finished panel.
Integrating lights, cameras, and parking sensors
Lights, cameras, and parking sensors need physical placement, secure connections, and functional testing. The technician should transfer or replace brackets carefully, inspect wiring for impact damage, and confirm that warning messages do not remain after reassembly. A camera image or illuminated lamp is not by itself proof that every related function is correct.
Where a sensor or camera has moved, calibration may be required according to the vehicle’s repair procedure. The final check should include fault scanning and a practical confirmation of the affected features. This is one reason an apparently simple bumper replacement can involve more labor than the panel price suggests.
Preparing replacement panels for paint and installation
Before paint, the panel is checked for surface quality, edge shape, mounting holes, and compatibility with adjacent trim. New, aftermarket, and recycled parts may need different preparation, including cleaning, minor correction, priming, or removal of old coatings. Trial fitting before paint helps prevent a poor gap or misplaced hole from becoming part of the finished repair.
After painting, the component should be protected during installation and assembled with suitable clips, seals, and fasteners. The technician then checks the final color, reflections, gaps, and operation of nearby doors, bonnets, lamps, and sensors. Preparation is not glamorous, but it has a direct effect on the result.
Estimating the cost of BMW collision repairs
A collision estimate should describe the whole repair rather than only the most obvious part. Parts, labor, paint materials, diagnosis, calibration, sublet work, and possible hidden damage can all affect the final figure. Two estimates may appear far apart while covering different levels of preparation or different replacement sources.
Main factors that influence parts pricing
Part pricing varies with the component’s size, complexity, availability, finish, and whether it is supplied bare or as a complete assembly. A bumper cover with openings and brackets is not equivalent to a bare cover, and a lamp housing is not necessarily a complete lamp with electronics. Supply delays can also influence the practical cost of choosing one option over another.
Vehicle age and rarity matter as well. A common exterior panel may be available through several channels, while a less common trim piece may require more searching. The estimate should state whether the item is new, aftermarket, recycled, repaired, painted, or supplied ready for installation.
Labor, paint, calibration, and hidden damage
Labor can include dismantling, damage assessment, repair or replacement, panel alignment, paint preparation, color matching, reassembly, diagnostics, and calibration. Hidden damage may add parts and time once covers are removed. Paint work can also extend beyond the replacement panel if adjacent surfaces need blending for a consistent appearance.
Calibration and testing deserve their own line when sensors or cameras are involved. Otherwise, a customer may compare a basic bodywork estimate with a complete repair plan and assume the difference is simply markup. Ask what inspections and post-repair checks are included before approving either figure.
Insurance-approved versus customer-selected parts
An insurer may approve a particular repair method or replacement source under the policy and claim circumstances. A customer may still want to discuss another option, such as a genuine component, a suitable aftermarket item, or a recycled part. The financial difference, warranty position, and any customer contribution should be made clear before ordering.
The repairer can help by explaining how each option affects fit, preparation, delivery time, and the final finish. Approval should cover the actual work needed, not merely the name of the largest visible component. Keep written records of agreed changes if the scope develops during dismantling.
Ways to compare repair estimates accurately
Read each estimate line by line and check whether the same components and operations appear in both. Look for differences in paint blending, clips, seals, sensor work, wheel alignment, diagnostics, corrosion protection, and post-repair testing. A short estimate may be perfectly reasonable, but only if it covers the same repair outcome.
A useful comparison asks four questions: What part is being used? What preparation does it need? What labor and calibration are included? What warranty applies? Once those answers are written down, the choice becomes less about a single number and more about value and risk.
Protecting BMW quality and safety after repairs
A repaired vehicle should be judged by more than its shine under workshop lights. Crash-related work can affect the body’s geometry, restraint systems, lighting, visibility, and electronic functions. Quality control should connect the structural repair to the final road-ready checks, with any unresolved fault explained before collection.
Preserving crash protection and structural integrity
Structural repairs require the correct measurement references, repair methods, and replacement components for the affected area. A panel that looks straight is not enough if mounting points, reinforcements, or adjoining structures remain displaced. The repairer should be able to explain what was measured and how alignment was verified.
Restraint-related components also need careful attention after a collision. Warning lights, damaged wiring, sensors, and related modules should be assessed rather than hidden by clearing a dashboard message. Crash protection depends on the complete system being restored, not just on replacing the most visible damaged part.
Calibrating advanced driver assistance systems
Driver-assistance features may rely on cameras, radar, parking sensors, steering geometry, or carefully positioned brackets. Repairs to bumpers, windscreens, mirrors, grilles, suspension, or body alignment can affect how these systems operate. The required calibration method depends on the vehicle and the systems fitted.
Ask whether diagnostic scans and calibration are included in the repair plan, and request confirmation of any completed checks. A system that turns on without a warning may still need a formal procedure after its mounting position has changed. This is a technical completion step, not an optional cosmetic extra.
Checking corrosion protection and panel alignment
Replacement panels and repaired metal need appropriate protection at edges, seams, joints, and areas exposed during collision work. Seals, cavity protection, underbody coatings, and correct fasteners help prevent moisture from becoming a later problem. The workshop should also check that drain paths remain clear after reassembly.
Alignment checks cover bonnet and door operation, consistent gaps, lamp positioning, bumper edges, and trim seating. Reflections across the repaired area can reveal ripples or uneven transitions that are hard to see from one angle. These details are best reviewed in daylight as well as under workshop lighting.
Reviewing the finished repair before collection
Before collecting the vehicle, walk around it slowly and compare the repaired area with the opposite side. Check paint texture and color, panel gaps, handles, locks, windows, lamps, cameras, sensors, warning lights, and the operation of doors and bonnet. A short road test or documented function check may also be appropriate.
Ask for the repair invoice, parts information, warranty terms, and any calibration or diagnostic record that applies. If something is not right, raise it before signing off the work. Clear documentation makes follow-up simpler and gives you a useful record for future servicing or resale.
A good collision repair is finished when the vehicle is structurally sound, electronically checked, and visually consistent—not merely when the replacement panel is painted.
That standard gives the final inspection a practical purpose. It also keeps the conversation focused on the condition and behavior of the repaired vehicle rather than on appearance alone.
Finding the right panel beater for BMW repairs
The right repairer combines bodywork skill with careful parts identification and disciplined quality control. Experience with BMW vehicles can help a technician recognize differences in generations, trim, mounting systems, and electronics, but it should be supported by suitable equipment and clear communication. A confident workshop will discuss the repair method, not just promise that the car will look new.
BMW experience and technician qualifications
Ask how often the workshop handles BMW collision repairs and whether technicians have relevant body repair, refinishing, diagnostic, or calibration training. The answer should relate to the type of damage your vehicle has suffered. Experience with exterior panels is useful, while a vehicle with sensors, cameras, or structural damage may require broader technical capability.
You can also ask who will inspect the vehicle, who approves changes to the parts list, and who performs the final quality check. Named responsibilities make the process easier to follow. They also show whether the workshop treats diagnosis and inspection as part of the repair rather than paperwork around it.
Workshop equipment and manufacturer-specific tools
A capable workshop should have equipment suited to accurate measurement, panel alignment, paint preparation, diagnostics, and electronic testing. Depending on the repair, that may include body measurement systems, dedicated alignment equipment, scan tools, calibration targets, and controlled paint facilities. Ask which equipment is used for the specific work rather than assuming every workshop has the same capability.
Tools matter because modern body repairs often involve both physical accuracy and electronic verification. A neat panel gap cannot confirm a correct sensor position, and a cleared fault code cannot prove that a panel is aligned. The workshop’s process should address both sides of the repair.
Repair warranties and parts guarantees
Before work begins, clarify the warranty on labor, paint, and the replacement parts themselves. Check whether coverage differs between genuine, aftermarket, and recycled components, and whether exclusions apply to corrosion, finish, electronics, or supplier defects. A written warranty is easier to rely on than a verbal assurance at the estimate stage.
Also ask how a defective or ill-fitting part will be handled. The customer should know whether the repairer manages the supplier issue and whether additional labor is covered. These details can be especially valuable when a lower-cost component requires replacement later.
Questions to ask before approving the work
A short conversation before authorization can prevent confusion later. Ask what was damaged, which parts will be repaired or replaced, what source each replacement comes from, and whether hidden damage could change the estimate. Confirm the expected timing, customer contribution, warranty, paint work, calibration, and final inspection process.
You should also ask how changes will be approved if dismantling reveals more damage. A workshop that explains its process clearly gives you a better basis for deciding. Once the scope, parts, and quality checks are understood, approving the repair becomes a considered choice rather than a hurried response to an accident.
Conclusion
Choosing panel beater BMW parts involves matching the component to the exact vehicle, weighing source and condition, and allowing for the work that makes the repair safe and complete. A careful panel beater will inspect beyond the visible damage, verify fit and equipment, prepare parts properly, and test the finished vehicle before handover. With those questions answered in advance, you can make a more confident repair decision and avoid false savings that appear only on the first estimate.