
Key Takeaways
Upgrading or replacing the seating in your BMW is a rewarding project that can dramatically improve your daily driving comfort and protect your vehicle’s value. Here are the essential points to keep in mind before you begin:
- Compatibility spans across specific generation chassis codes, but rail alignments and wiring loom pinouts can differ.
- Sourcing from specialized dismantlers often yields cleaner, guaranteed assemblies than random salvage lots.
- Electronic safety occupancy sensors and integrated side airbags require strict handling and battery disconnection protocols.
- Proper cleaning, leather repair, and foam conditioning can easily restore older donor seats to showroom form.
- Sourcing the correct tools, such as external Torx sockets, prevents stripping hardware during the swap.
Determining compatibility for your BMW model
Upgrading your cabin with a fresh set of seats requires careful planning before turning a single wrench. Because BMW designs its passenger cabins with tight structural tolerances, assuming any seat from the same brand will bolt down seamlessly is a common pitfall. Understanding structural and electrical compatibility is the first critical step toward a successful cabin upgrade.
Cross-model seat compatibility
Many classic and modern BMW chassis share underlying platforms, meaning workspace footprints can allow for direct seat swaps between certain models. For instance, seats from an E90 sedan often share physical space geometry with those from an E92 coupe, though seatback release mechanisms differ. But trying to install 5 Series seats into a narrower 3 Series cabin usually ends in frustration because of spatial limits and console clearance.
Identifying seat rail configurations
To figure out if a donor seat will physically lock into your floorboard, you must measure the distance between the mounting bolts from left to right and front to back. BMW rails are remarkably standardized within specific development eras, but transition years can present major challenges. Newer platforms like the F-series and G-series utilize significantly sturdier structural mounts that will not drop into older E-series models without destructive physical modifications.
Differences between sport and standard seats
Sport seats provide superior lateral bolster support and adjustable thigh extenders that standard premium seats simply do not offer. However, they also possess firmer cushion profiles that might not suit every motorist’s physical comfort preferences.
Sport seats often feature deep side bolsters that wear out prematurely from drivers pivoting during ingress and egress, demanding closer inspection before you buy them.
Be mindful of how these physical bolster profiles alter your driving position, as the side supports can restrict shoulder movement if you are accustomed to flatter, standard chairs.
Wiring harness variations
Modern German car wiring is incredibly complex, with minor differences separating optional packages. Premium comfort seats feature integrated memory systems and advanced heating elements that require heavier gauge power supply wires. Standard vehicle harnesses may lack the internal wiring needed to run these upgraded electrical systems, demanding complex manual pinning or a complete bypass harness.
Where to source high-quality used BMW seats
Finding the right donor components requires searching beyond standard catalog listings to identify reliable parts suppliers. Excellent replacement seats are out there, but you have to know where to find them and how to assess their overall structural integrity.
Specialized BMW dismantlers
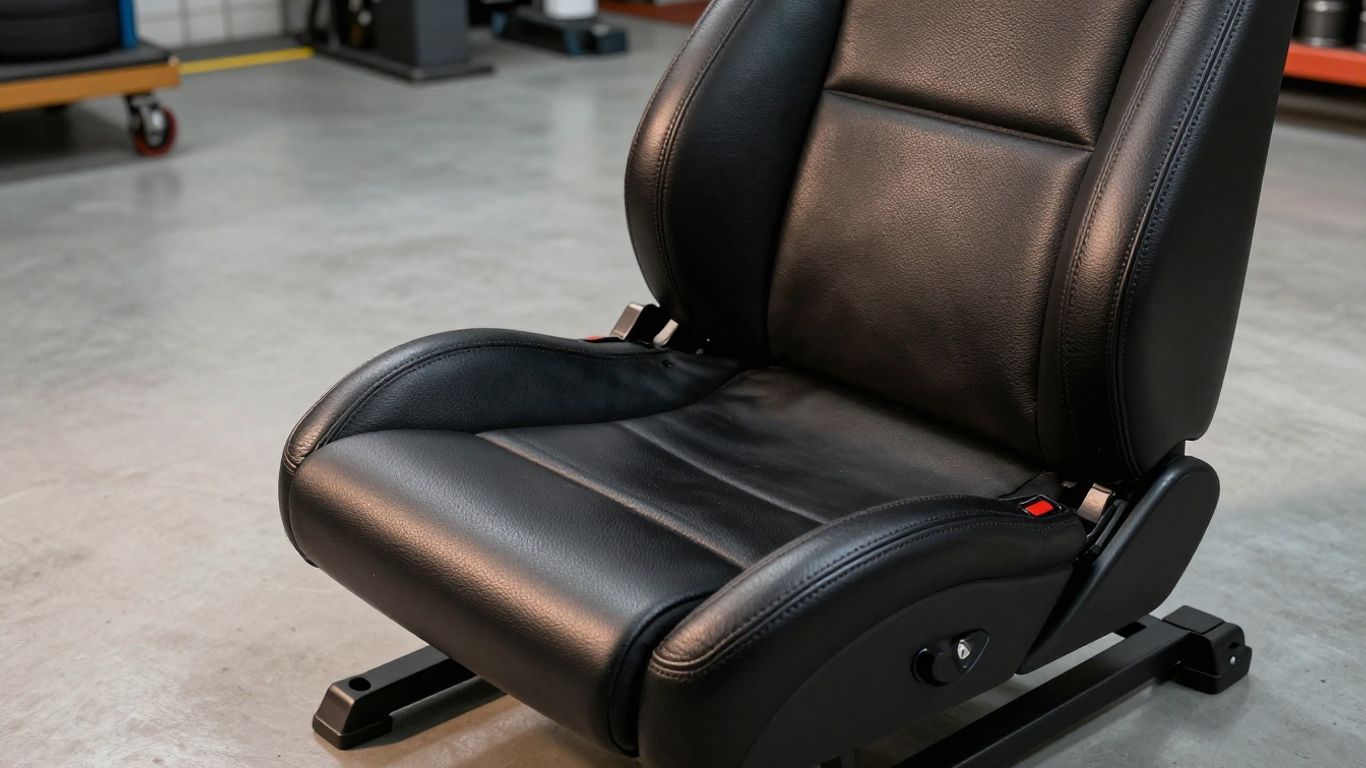
Specialist dismantlers focus exclusively on German marques, giving them extensive knowledge of which interior parts fit across different model years. Because these operators work with specific chassis configurations every single day, they can visually identify premium optional upgrades like individual Merino leather options instantly. You pay a bit of a premium here, but their expertise means you rarely receive the wrong parts package.
Online auction marketplace strategies
Online auction platforms offer an incredibly vast selection of interior replacements, but they demand highly calculated search strategies. When hunting for used BMW seats, always request close-up video clips of the electronic connector plugs and adjusters.
| Column Parameter | Standard Search Method | Advanced Enthusiast Search | Expected Outcome |
|---|---|---|---|
| Search Keywords | "BMW seats" | Specific chassis code + color code (e.g., "E46 sport seat terracotta") | Highly relevant matching results |
| Photo Verification | Stock images only | Video of underside wiring pins and bolsters | Confirmed functional electronic components |
| Freight Coordination | Standard ground courier | Tailgate service with wooden crate packing | Zero transit-related frame distortion |
Using highly targeted search strings helps filter out generic post-market seat covers, taking you straight to genuine recycled parts with verifiable assembly histories.
Local salvage yard pros and cons
Local self-service salvage yards offer the absolute lowest acquisition prices but require considerable manual labor and travel luck. You have to remove the seats yourself in open, dusty yards, which exposes the components to harsh weather. While you can verify physical quality firsthand, finding pristine leather seats in a self-service yard is quite rare.
Official BMW used part programs
Authorized manufacturer parts programs offer a trusted, guaranteed path for sourcing refurbished components. These assemblies undergo strict safety testing and frame checks to ensure they meet original crash standards. Purchasing through official channels guarantees total compatibility and provides a firm warranty, though pricing is significantly higher than private sales.
Inspecting used BMW seats for condition and functionality
Before loading any used seats into your transport vehicle, a thorough physical appraisal is essential. Minor visual flaws might seem easy to ignore, but they can hide deeper structural or electrical failures that are incredibly costly to repair afterward.
Assessing leather or fabric wear
Carefully inspect the driver’s side outer bolsters for heavy signs of wear, surface cracking, or seam separation. Leather finishes can dry out, harden, and crack under constant exposure to direct sunlight. Feel the seat material carefully; if it feels stiff, the fibers have likely lost their protective oils and may split soon.
Testing motorized adjustments
If the donor seat has power functions, attach a portable 12-volt jump pack directly to the main power terminal pins to test all motion axes. Check that the plastic worm gears run smoothly across the entire range without binding up or making grinding noises. Sluggish movement often indicates worn electric motors or old, contaminated grease inside the gear tracks.
Checking for internal frame stability
Grab the top of the headrest and shake the seat assembly vigorously while keeping the lower rails firmly pinned to the floor. Any internal clicking, shifting, or excessive play suggests a bent height adjuster frame or loose structural rivets. A unstable seat frame is a major safety hazard that will fail to support you properly in an accident.
Verifying airbag module status
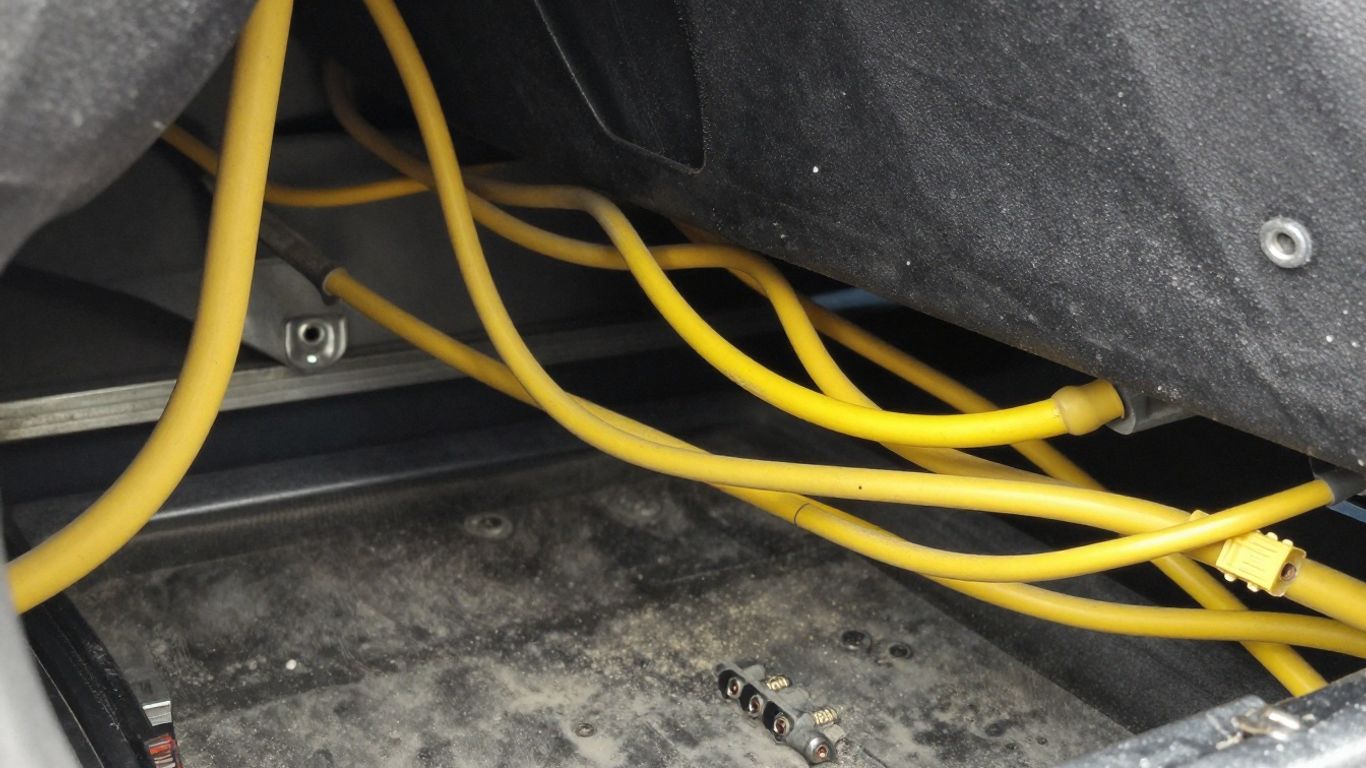
Safety remains the absolute priority when dealing with any modern automotive interior components. Look closely at the side airbag deployment seam on the outer bolster of the backrest to ensure the fabric has not been restitched. Inspect the yellow airbag module harness underneath the seat frame to verify the airbag squib remains intact and shows no signs of heat damage.
Dealing with electronic and sensor complications
Getting replacement seats securely bolted to the floorboards is only half the battle; integrating them with the car’s computer system is where the real difficulty begins. German interior electronics are highly specialized, and changing parts can easily trigger warning lights.
Managing seat occupation sensors
Passenger occupancy sensors are thin, highly sensitive pressure grids embedded deep inside the lower seat cushion foam. If you install a seat with a damaged sensor grid, your vehicle’s central computer will disable the passenger airbag completely for safety. Swapping an older sensor into a newer seat requires delicate disassembly, though some choose bypass modules where keeping the original safety setup is not required.
Troubleshooting memory module synchronization
Comfort chairs use internal memory modules that store position preferences linked to specific key fobs. When you install a different seat, your car’s central body domain controller may fail to communicate with the donor module. Resolving this mismatch typically requires software synchronization using professional diagnostics tools to write your vehicle’s identification number directly to the module.
Handling wiring harness software resets
Unplugging the cabin wiring elements often triggers stored faults within your vehicle’s safety modules. These fault codes do not clear on their own after you plug the new harness in, even if every connection is perfect. You must use a specialized OBD-II diagnostic scanner to clear the safety memory bank and confirm the warning lights stay off.
Addressing heated seat connectivity
Retrofitting heated elements into a car that originally had basic non-heated seats requires substantial extra wiring work. You must run new power lines from the main fuse box and install the correct dashboard control switches. Because these heating pads draw considerable power, installing the factory relay setup is vital to avoid overloading your electrical system.
Tools and safety precautions for seat installation
Taking a structured, safe approach to working on your vehicle’s interior ensures you protect both your personal safety and the fragile trim panels of your cabin. Rushing through the swap process can easily result in broken plastics or accidental airbag deployments.
Essential hand tools for interior work
Most modern German passenger cabins rely heavily on external Torx fasteners to secure structural frames. You will need a high-quality set of female Torx sockets alongside a calibrated torque wrench for the final rail bolts. Having plastic trim removal wedges on hand is also crucial for popping off delicate plastic rail covers without scratching them.
Disconnecting the battery to prevent airbag triggers
Never unplug any yellow under-seat wiring connector without completely disconnecting the negative terminal of your vehicle’s battery. Wait at least twenty minutes after disconnecting the battery to let the internal capacitors in the airbag module drain down completely. Skipping this step can trigger an accidental deployment or lock your safety computer into an expensive fault mode.
Proper seat removal sequences
Begin the removal by sliding the assembly fully forward to remove the rear rail bolts, then slide it rearward to release the front fasteners. To avoid throwing off the physical alignment of the sliding tracks, always keep both runners perfectly parallel as you loosen the hardware. Once you have removed the mounting bolts, carefully tilt the seat assembly back to disconnect the main yellow wiring harness block cleanly.
Managing seat weight and cabin protection
Fully motorized leather assemblies are incredibly awkward to handle and can easily weigh over seventy pounds. Before lifting the heavy rail assembly out, place thick blankets over your lower door sills and center console to protect your plastic trim from deep scratches. An extra helper to guide the sharp steel mounting rails out of the door opening is highly recommended.
Essential upholstery care and seat refurbishment tips
Before bolted-in donor seats become a permanent fixture in your cabin, take the opportunity to restore the leather finish and deep clean the structures. Working on seats when they are out of the tight confines of the car cabin makes thorough detailing significantly easier.
Deep cleaning leather surfaces
Vacuum all debris out of the deep leather seams and piping lines using a soft brush attachment. Spray a dedicated, pH-balanced leather cleaner over the sections and work it into a gentle lather with a natural horsehair brush. Wipe away the grime with a microfiber towel, making sure not to oversaturate any perforated sections over ventilated areas.
Repairing minor interior bolster cracks
For small cracks and scuff marks on outer leather bolsters, apply a flexible leather filler compound directly into the damaged areas. Once dry, smooth the surface with fine sandpaper before applying a matching color dye to blend the repair. Sealing the repaired area with a matte finish topcoat ensures your work holds up to daily use.
Conditioning worn foam cushions
Over many miles of driving, seat cushion foam can collapse, leading to uncomfortable seating and saggy leather. With the outer covers removed, you can steam compressed foam sections to make them expand back to their original factory shape. Adding thin extra layers of high-density upholstery foam is an easy way to restore lost support to the side bolsters.
Installing aftermarket protection during installation
Once your refurbished seats are installed, consider adding custom-fit covers or specialized protective backings. Highly durable backing guards protect the rear seat covers from scuffs if you frequently carry passengers or cargo in the back. Applying a high-grade ceramic leather protectant layer helps block UV damage and prevents dye transfer from jeans.
Conclusion
Upgrading your driving experience with a high-quality set of replacement seats is an excellent way to restore comfort and cabin aesthetic. By carefully checking structural compatibility, taking your time with the electrical connections, and thoroughly cleaning the material, you can achieve a factory-standard result. With the right tools and a methodical, patient approach, this interior swap is a highly satisfying project that you can confidently complete in a single weekend.