

Key Takeaways
Transitioning to salvaged parts allows BMW owners to maintain factory specifications without the premium price tag. The following points summarize the essential considerations for your replacement project.
- Recycled parts offer significant cost savings over new dealer components.
- VIN matching ensures structural compatibility for your specific build.
- Professional salvage networks provide access to high-quality original equipment.
- Comprehensive visual inspections help avoid common issues like seal failure.
- Proper installation and scanning prevent lingering dashboard diagnostic errors.
The benefits of choosing recycled BMW tail lights
Choosing components from salvaged inventory allows owners to restore their vehicles using original manufacturer equipment at a fraction of the cost. These pieces often originate from donor vehicles that were decommissioned for unrelated reasons, ensuring they retain the same material integrity as the parts initially installed at the factory. When you select used parts, you are effectively recycling high-quality plastics and functional electronics that would otherwise go to waste.
Cost-effectiveness compared to dealership parts
When purchasing through official channels, the price of a new tail light is often inflated by marketing, retail overhead, and packaging. Opting for recycled parts allows you to avoid these markups completely. This financial strategy is particularly useful for older models where the cost of a new assembly might represent a significant percentage of the vehicle’s total market value.
Environmental impact of reusing automotive components
Manufacturing new plastic and metal automotive components requires immense energy consumption and raw material extraction processes. By extending the lifecycle of a tail light assembly, you help minimize the demand for new production run manufacturing. This choice supports a circular economy within the automotive maintenance sector by keeping perfectly usable components out of scrap yards.
OEM quality assurance versus low-cost aftermarket alternatives
Low-cost aftermarket alternatives often use thinner plastics and lower-grade sealants that succumb to UV degradation quickly. Conversely, recycled original OEM tail light assemblies are built to the exact specifications defined by the engineers. These parts provide a guaranteed perfect fitment that cheap reproductions rarely achieve, maintaining the aesthetic and functional standards of the original lighting design.
Identifying the correct part for your BMW model
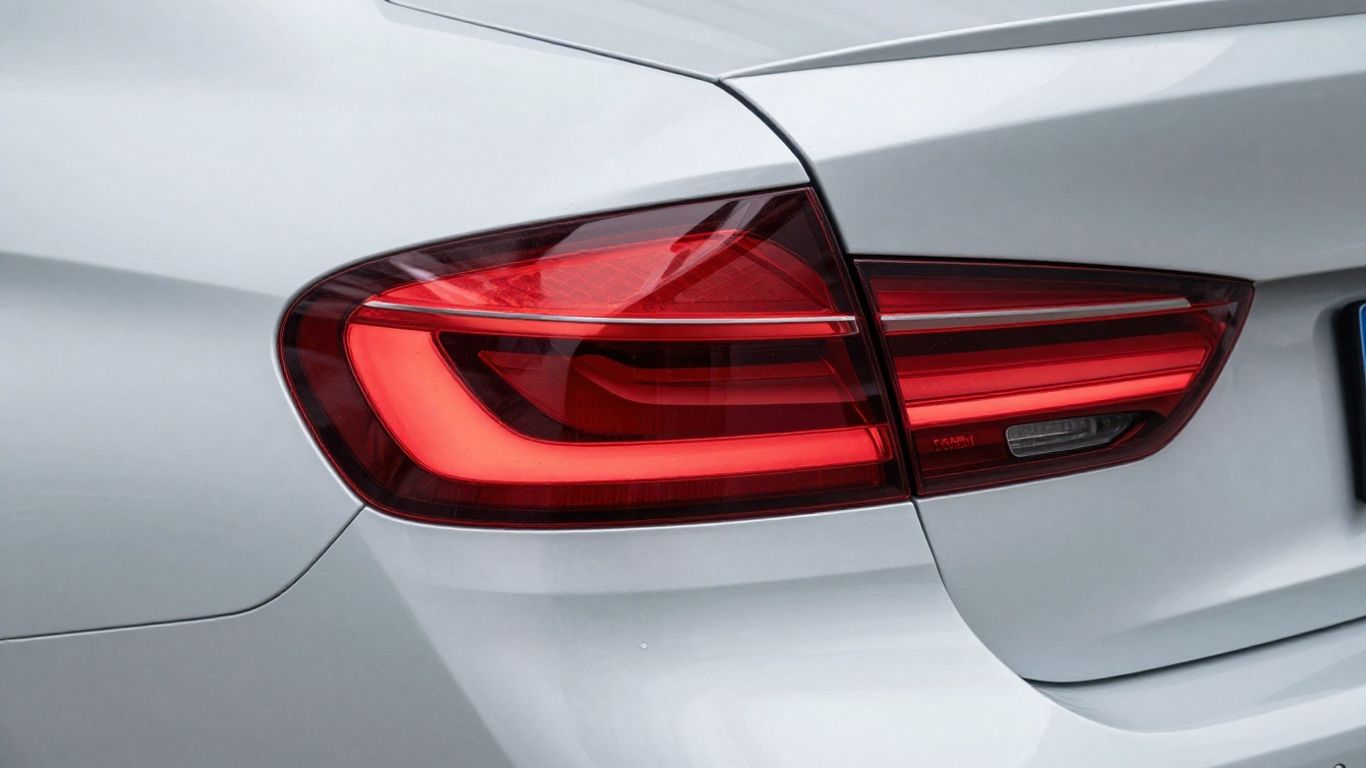
Vehicle configurations evolve rapidly, and what appears to be an identical exterior design can actually house different wiring connections or internal optics. Accuracy during the selection phase is paramount to avoid returns or compatibility issues. Using centralized databases to cross-reference parts ensures you are acquiring a component that functions correctly with your existing onboard computer systems.
Decoding your vehicle identification number (VIN) for precise matching
Your VIN serves as the definitive reference guide for every sub-assembly installed on your car during assembly. By parsing this alphanumeric string, you can identify specific trim lines and build dates that dictated which lighting modules were installed. Suppliers who request your VIN are better equipped to provide modules that match your car’s unique requirements.
Understanding OEM part numbers for tail light assemblies
Every part is assigned a specific catalog code that identifies its generation and feature set. These codes are usually stamped into the housing, and comparing these numbers against your existing unit is the most reliable way to confirm compatibility. Relying on these official identifiers removes the guesswork often associated with visual assessments alone.
Distinguishing between pre-facelift and facelift component variations
Mid-cycle refreshes often introduce subtle changes to lens patterns, LED density, or connector pinning. An assembly from a 2014 model might look visually identical to a 2016 unit while failing to communicate correctly with the vehicle’s control module. Always verify if your specific model year falls within a transition phase where mid-cycle design updates occurred.
Sourcing reliable recycled BMW tail lights
Procuring parts from reputable sources is essential to ensure that the assembly has been handled with care and stored properly. Many professional networks now provide detailed histories of the donor vehicles, which helps in predicting the overall state of the electronics. Avoid private sellers who lack a return policy or clear documentation regarding the source of their inventory.
Navigating professional auto salvage networks
Professional recyclers utilize centralized inventory management systems that track the condition and mileage of donor vehicles more accurately than smaller independent operations. These networks often provide more structural certainty, as they process a higher volume of premium vehicles that were well-maintained prior to their arrival. Dealing with these organizations typically results in cleaner, more reliable components.
Evaluating the reputation of online used parts marketplaces
Digital marketplaces allow you to compare hundreds of available units across different regions instantly. Look for vendors who maintain high feedback scores and provide actual photographs of the specific assembly rather than generic stock images. A transparent marketplace will emphasize buyer protection and facilitate returns if the item received does not match the description provided.
Essential questions to ask sellers regarding part condition and history
Before finalizing any transaction, gather as much data as possible about the specific assembly you are buying. Inquiring about the mileage of the donor vehicle and whether the unit was exposed to significant sun or moisture is vital for long-term reliability. Ask for confirmation that all mounting points are intact and that the light was fully functional before it was removed for stocking.
Inspecting used lighting assemblies before purchase
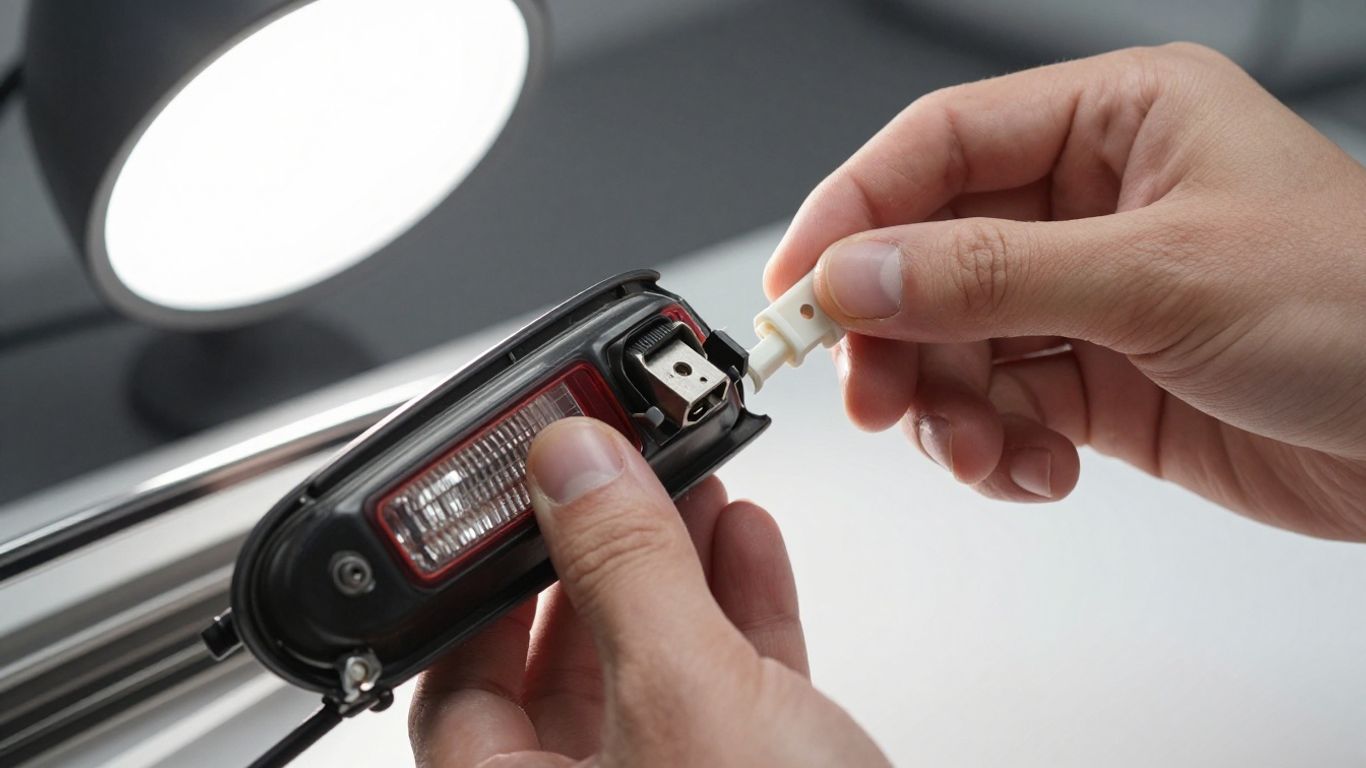
Once a unit arrives, or before you pay for a local pickup, a thorough physical examination is necessary to ensure it meets your standards. Even parts that appear clean on the surface may have hidden defects that lead to premature failure. Taking the time to observe these details prevents the frustration of installing a faulty component that requires immediate removal.
Checking for seal degradation and internal moisture ingress
Water intrusion is the primary killer of automotive lighting, as it causes corrosion on circuit boards and fogs the internal lens. Inspect the perimeter seal between the lens and housing to ensure it remains supple and firmly attached. If you see signs of mineral deposits or drying water streaks inside the lens, the assembly has likely developed a vacuum leak that will lead to future failure.
Testing the functionality of integrated LED arrays
Integrated LED arrays provide exceptional brightness for the BMW lighting system, but individual diode failure is difficult to repair. If the seller allows, request a simple bench test using a 12V power supply to confirm all segments of the light illuminate uniformly. This verification ensures that you won’t be left with dark patches once the unit is integrated into your signal network.
Assessing mounting tab integrity and plastic housing condition
The physical structure must be completely sound to maintain a water-tight seal against the body panel. A damaged tab will prevent the light from sitting flush, leading to vibration and potential leaks long-term. Refer to the structural checklist below before accepting the part for installation.
| Item | Inspection Focus | Success Criteria |
|---|---|---|
| Mounting Tabs | Plastic Integrity | No cracks or stress marks |
| Exterior Lens | UV Damage | Smooth surface, no deep gouging |
| Housing Gasket | Seal Condition | Pliable material, no dry rot |
Taking these steps to evaluate construction quality ensures your replacement part remains secure and weather-resistant over many years of driving.
Installation tips for DIY BMW owners
Installing a modern tail light is generally a straightforward process if you have the patience to navigate tight body panels and secure wiring connections properly. The primary goal is to prevent damage to the surrounding paint or delicate plastic clips during the removal of the old unit. Maintaining a logical workflow, from disassembly to final testing, is the key to a successful upgrade.
Essential tools for safe tail light removal
Standard hand tools, including a socket set with a range of common metric sizes and a trim panel removal tool, are usually all that is required for this task. Using the correct size socket prevents the rounding over of the studs, while trim tools stop the marring of the soft plastic fasteners found throughout the rear interior. Investing in these modest tools preserves the surrounding trim and simplifies the removal process.
Safely disconnecting and reconnecting electrical wiring harnesses
Electrical connectors in these vehicles are often protected by weather-resistant clips that require precise pressure to release. You must ensure the ignition is cycle-off to avoid arcing or unexpected code triggers while handling the connection pins. Always inspect the harness terminal in your vehicle for any signs of oxidation before clicking the new component into place.
The sensitivity of modern vehicle electronics means that poor connections can lead to intermittent signal issues even if the bulb itself is fully functional. Take your time to ensure the locking tabs secure with an audible click to guarantee a permanent, weather-tight electrical interface.
Ensuring a firm connection during the installation of BMW-certified parts prevents erratic behavior and protects the longevity of the module itself.
Troubleshooting common dashboard error codes after replacement
If your instrument cluster displays a bulb-out or light failure warning after the swap, double-check that the rear connector is fully seated. In some rare cases, the different resistance values of a replacement unit may cause the system to report an error if it was calibrated for a slightly different harness configuration. A quick scan with an OBD-II diagnostic tool can often clear these temporary glitches once the physical connection is confirmed to be stable.
Understanding the market and warranty options
Market standards for used part warranties are constantly shifting, and understanding your rights as a consumer can protect your wallet. When purchasing components, the level of support varies depending on whether you are using a national online marketplace or a local salvage yard. Understanding these distinctions allows you to make an informed decision on where to allocate your budget.
Evaluating standard salvage yard part warranties
Most reputable salvage yards offer a limited warranty, which typically covers functional defects for a period of 30 to 90 days. This baseline coverage is meant to protect the buyer from dead-on-arrival components rather than long-term wear and tear. Always document the mileage and part ID number as soon as you receive the component to simplify any necessary warranty claims.
Determining if specific sellers offer extended performance guarantees
Some high-end suppliers have begun offering extended warranties of six months or even a year for an additional fee when buying components. While this increases the upfront cost, it provides significant peace of mind, especially for complex electronic assemblies. If you plan to keep your vehicle for several more years, the small extra investment in a performance guarantee is often worth the security.
Balancing shipping costs against local pick-up options for fragile components
Shipping large, fragile plastic assemblies carries inherent risks of damage during transit, regardless of how well the seller packs them. Local pickup is usually the safest option to ensure you physically handle the part before it enters your home. However, if shipping is your only choice, ensure the seller provides insurance for the full value of the light to mitigate the risk of damage during the logistics process.
Conclusion
Restoring your vehicle with recycled components is a strategic and sustainable way to maintain performance without breaking your budget. By focusing on VIN-verified parts and executing a careful, structured installation, you can achieve results that mirror professional repairs. With proper research and attention to individual component condition, you will successfully navigate the market and keep your car looking and functioning at its peak for many miles to come.